Bars & Brownies
Easy One Pot Fudge Brownies
February 20, 2023
When I’m craving chocolate, what I’m really craving is a brownie. And while I never say never to using a […]
When I’m craving chocolate, what I’m really craving is a brownie. And while I never say never to using a box mix, when you want to start from scratch, these easy one pot fudge brownies will never let you down.
Rich and fudgy, thick and chocolatey and perfectly gooey and chewy in all the right places – these easy brownies will earn you major brownie points in the kitchen!

These easy fudge brownies are just as fast to make as the store bought version but they are SO much better! Just mix all the ingredients in one pot on the stovetop and you’ll have deliciously decadent brownies off to the oven in just 10 minutes. The best part is since the batter is made in just one pot, you’ll have fewer dishes to wash.
It’s genius, I know!

What makes these brownies so good?
Say hello to the only brownie recipe you’ll ever need! Aside from the fact that I have fewer dishes to wash, here’s a few reasons why this simple brownie recipe is on repeat in my kitchen:
- Easy to make with just 7 ingredients. Just a handful of ingredients is all you need for rich, gooey, deliciously chewy brownies!
- Made in 30 minutes from start to finish. This no-fuss recipe is a cinch to whip up for a last minute dessert.
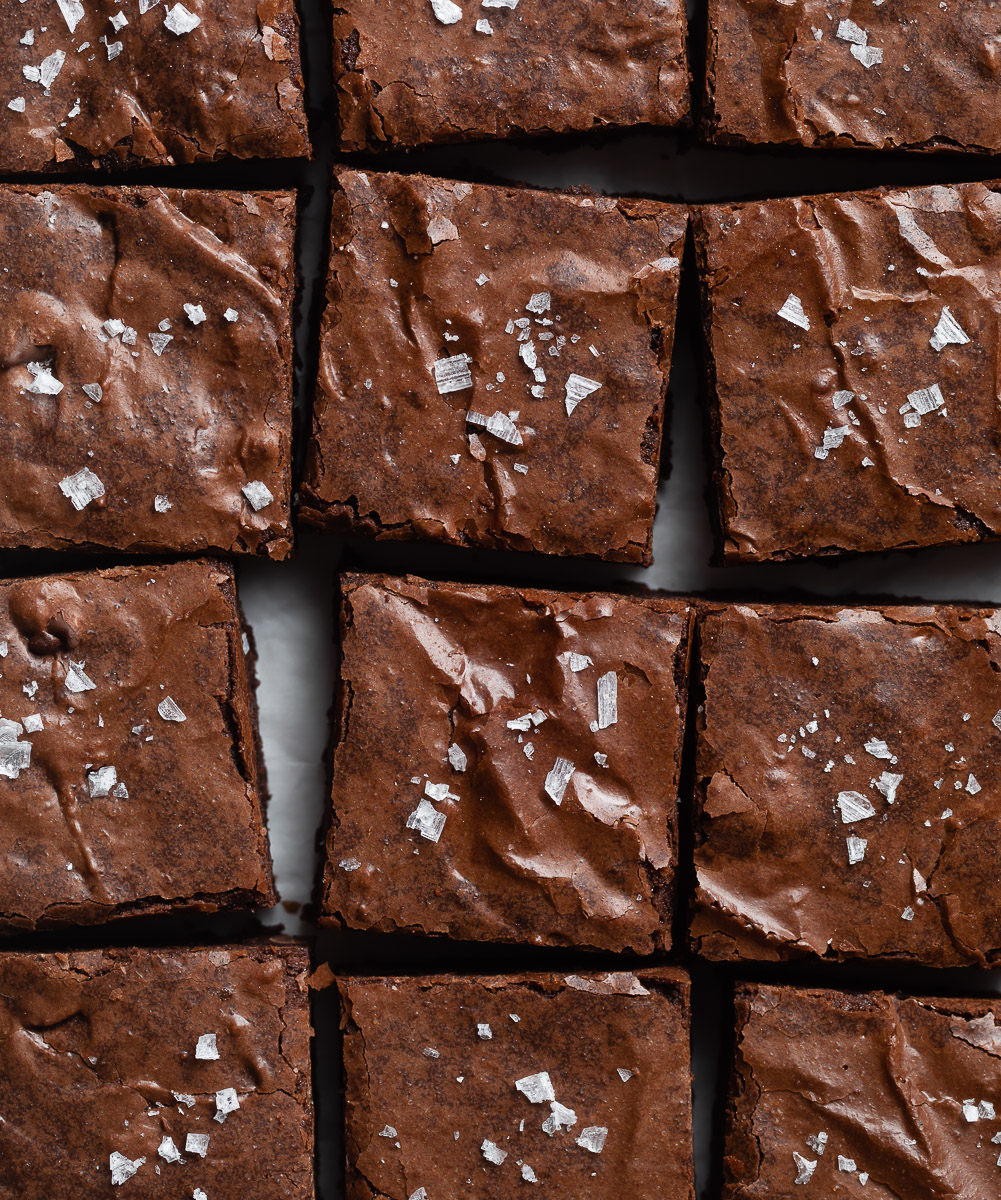
- Thick, fudgy, ultra chocolatey brownies. And just look at those paper thin, crinkled tops! s-w-o-o-n!
- Better than a box mix! Anything homemade is always better than store bought in my book.
- Made in one pot so clean up is a breeze. The quickest, easiest brownie recipe ever! No mixer or fancy equipment required.

Ingredients
Made in 30 minutes or less with just a handful of pantry staples, you’ll come back to this recipe again and again. Here’s what you’ll need for the BEST fudge brownies:
- Butter – butter adds more flavor than oil. The recipe calls for unsalted butter but if you only have salted butter on hand, omit the additional salt in the recipe.
- Sugar – granulated sugar gives the brownies sweetness and texture. Be sure to whisk it for a full two minutes with the warm butter and chocolate mixture – this is how you get those paper thin, crinkly tops!
- Eggs – Eggs help bind the batter together and make for super moist brownies. For best results, use room temperature eggs.
- Chocolate – these brownies are extra fudgy thanks to the addition of both melted chocolate and Dutch-process cocoa powder. I like using 60% bittersweet chocolate chips but for a sweeter brownie, feel free to use semi sweet. For extra ooey gooey brownies, throw a handful of chocolate chips into the batter just before baking!
- Flour – too much flour will make the brownies cakey instead of fudgy. To avoid using too much flour, use a digital kitchen scale to measure.
- Vanilla – for the best flavor, use a high quality vanilla extract.
- Salt – just a pinch helps balance the sweetness from the sugar. Add a sprinkle of flakey sea salt to the top of the brownies to really make the chocolate flavor shine!
How to make fudge brownies from scratch
These easy fudge brownies are positively foolproof! No combining wet and dry ingredients separately. Simply stir everything together in the same pot for a deliciously dense, super chewy and ultra chocolatey pan of brownies. Follow this basic step-by-step guide and be sure to check the recipe card below for a full ingredient list and detailed instructions.
Step 1: Preheat the oven to 350°F. Line an 8 x 8 baking pan with parchment paper and set aside.
Step 2: Add the chocolate chips and butter to a medium pot. Melt over medium low heat until shiny and smooth.
Step 3: Remove the pot from the heat. Sift in the Dutch-process cocoa powder.

Step 4: Whisk the cocoa powder into the melted chocolate and butter mixture until well combined.
Step 5: Add the granulated sugar. Whisk for a full two minutes. The mixture will be slightly grainy.
Step 6: Add the eggs and vanilla.

Step 7: Stir briskly for another minute until the mixture is smooth and shiny.
Step 8: Add the flour and salt. Whisk gently or fold together using a large spatula. Stop when a few streaks of flour remain. The batter will be thick. Do not overmix. If adding chocolate chips to the batter, this is the time!
Step 9: Transfer the batter to an 8 x 8 baking pan lined with parchment paper. Use an offset spatula or spoon to spread the batter to the corners of the pan and level the top.

Step 10: Bake for 18 to 20 minutes or until the edges are set and begin to pull away from the sides of the pan. To test for doneness, insert a toothpick in the center of the pan. If it comes out with wet batter, bake for a few minutes longer. If it comes out with a few moist crumbs, the brownies are done. Always err on the side of under baking brownies – they’ll continue to set as they cool.
Step 11: Remove the pan from the oven and cool the brownies in the pan for about 15 minutes. Use the parchment paper overhang to carefully pull the brownies out of the pan and set on a wire rack to cool completely before slicing. Sprinkle with flakey sea salt before serving if desired.
How to slice brownies
Perfectly sliced brownies are easier to achieve than you might think. Lucky for you, I’ve tested all the tips and tricks so you don’t have to!
Prep your pan. Always line your metal brownie pan with parchment paper for easy removal of the brownies once baked. Once the brownies have cooled for a bit in the pan, use the parchment overhang to carefully lift the brownies out of the pan for easy slicing.
Cool the brownies completely. Tempting though it may be, resist the urge to eat the brownies fresh from the oven. Not only will they be less likely to crumble into pieces when you slice them, but the brownies actually get more fudgy as they cool. I promise it’s worth the wait!
Use a clean, sharp knife for each slice. Run a large, sharp (not serrated) knife under warm water for 10 seconds. Dry it with a clean dishcloth and then press it into the brownies in one firm movement. Repeat with the remaining slices, cleaning the knife between each slice. For perfectly portioned squares, come armed with a ruler!

How to store
Not even kidding, these brownies will likely be devoured in less time than it took you to make them! If you do happen to have a few squares left over, store them tightly covered at room temperature for up to 3 days. Uncut brownies will stay fresh longer than sliced brownies. To keep them from drying out, cut each square as you go.
These brownies freeze perfectly and make a delicious late night snack straight from the icebox. Simply wrap them in two layers of plastic wrap and freeze flat for up to 2 months. Defrost at room temperature for 10 minutes before serving. For warm brownies, heat them in a 300°F oven for about 10 minutes.

FAQ’s
Please do! To double the recipe, bake in a 9 x 13″ pan. The brownies will be slightly thicker.
I recommend baking brownies in a light colored, shiny metal pan with sharp corners. Glass pans can alter the baking time and ultimately the texture of the brownies.
You likely either added too much flour to the batter and/or over mixed the brownie batter. For best results, use a kitchen scale to measure the flour and do not over mix the batter once you’ve added the dry ingredients.
Yes! I did not test the recipe with a flour substitute, but it should work with a flour blend like Bob’s Red Mill Cup-for-Cup Gluten Free Flour.
Happy brownie making bakers!
Love brownies? Give these delicious recipes a try:

Easy Fudge Brownies Recipe
- Prep Time: 10 minutes
- Cook Time: 20 minutes
- Total Time: 30 minutes
- Yield: 16 brownies 1x
- Category: Bars & Brownies
- Method: Baking
- Cuisine: American
Description
Made ultra chocolatey with shiny, crinkled tops, these easy one pot fudge brownies will earn you major brownie points in the kitchen!
Ingredients
- 1/2 cup (113 g) unsalted butter, cubed
- 3/4 cup ( 135 g) bittersweet chocolate chips
- 1/3 cup (25 g) Dutch-process cocoa powder, sifted
- 1 1/4 cups (250 g) granulated sugar
- 2 large eggs, room temperature
- 2 teaspoons vanilla extract
- 3/4 cup (95 g) all-purpose flour
- 1/2 teaspoon kosher salt
- 1/4 cup (45 g) semi-sweet chocolate chips, optional
- flakey sea salt for sprinkling, optional
Instructions
- Preheat oven to 350°F. Line an 8 x 8 baking pan with parchment paper. Set aside.
- In a medium pot, add the bittersweet chocolate chips and butter. Melt over medium-low heat, stirring occasionally. Remove the pot from the heat once the chocolate and butter are melted and smooth.
- Immediately sift the Dutch-process cocoa powder into the chocolate and butter mixture. Whisk to combine well.
- Add the sugar and whisk continuously for a a full two minutes. This helps give the brownies those signature crinkled tops.
- Add the eggs and vanilla, whisking briskly for an additional minute.
- Add the flour and salt to the mixture and whisk gently or use a large spatula to fold the dry ingredients into the wet.
- If adding the additional semi-sweet chocolate chips, fold them in now. Do not overmix.
- Transfer the batter to the prepared pan and use an offset spatula or spoon to spread the batter into the corners of the pan. Level the top.
- Bake in the center rack of the oven for 18 to 20 minutes or until the center of the brownies is set and the edges begin to pull away from the sides of the pan.
- Remove the pan from the oven and let the brownies cool in the pan for 10 to 15 minutes before using the parchment paper overhang to carefully remove the brownies from the pan. Allow the brownies to cool on a wire rack completely before slicing.
- Sprinkle with flakey sea salt before serving if desired.
Notes
Store brownies tightly covered at room temperature for up to 3 days.
May be frozen. Defrost at room temperature before serving.
Craving More?


Bakery Style Chocolate Chip Muffins

18 Comments
Kayla
November 19, 2024 at 5:52 pmThese came out so yummy! Super easy recipe, they were well enjoyed.
Anonymous
September 19, 2024 at 8:43 pmPerfect brownie for my sweet tooth! I will definitely continue to make these rather than the store bought box brownies!
Anonymous
June 6, 2024 at 5:30 pmthey where delicious
Heather
May 6, 2024 at 11:21 amThese are the best brownies! So fudgy. I will never use another recipe for brownies! I did double the recipe to use a 9×13 pan. I used dark brown sugar for half the sugar and granulated the rest. They took about 45 min to bake and I put foil loosely over the top to prevent the edges from burning.
Anonymous
December 22, 2023 at 3:08 amI used all brown sugar. Ghiradellis chocolate and Hershey’s special dark cocoa. Very easy 1pot process I will make them again
Preetika
August 17, 2023 at 5:40 pmHi what is the difference between this recipe and brown butter. Brownies and better than box chewy brownies ? Since I am trying brownie recipe which one should I go ahead with first ? Also there is difference in chocolate used in grams under US and M scale so which one is to be used ? Awaiting your reply. Thank you
Dani
May 2, 2023 at 7:42 pmBetween steps 2 and 3, do you leave your ingredients in the pot or transfer them into another bowl? I put the Dutch cocoa and sugar in while in the pot but then had to transfer into a larger bowl when adding everything else in. They’re currently in the oven and smell amazing!!!
Heather Mubarak
May 2, 2023 at 10:10 pmEverything goes into the same pot! No need for a second bowl. Hope you enjoy!!
Sadia
April 27, 2023 at 5:16 amHi! I was wondering I don’t have Dutch process cocoa powder…can I just use hersheys unsweetened cocoa powder? Thanks!
Heather Mubarak
April 27, 2023 at 7:37 amYes, use the “Special Dark” one if you have it. Enjoy!
Suzie
March 10, 2023 at 2:05 pmI often want a dessert but don’t want to dirty up the kitchen, this looks like the perfect recipe and incredibly drool worthy, yum!
Zanna
February 25, 2023 at 8:24 pmStellar brownie recipe! Just as easy and delicious as you said it was!
Brandie Sweetland
February 21, 2023 at 9:21 pmFudgey, yumminess! I think this will be my new go to brownie recipe.
Heather Mubarak
February 22, 2023 at 7:36 amI’m so happy to hear you loved these brownies!
Lisa
February 21, 2023 at 1:03 amThese were so easy. When I have a chocolate craving, this will be my new go-to. It’s fast and the brownies are delicious!